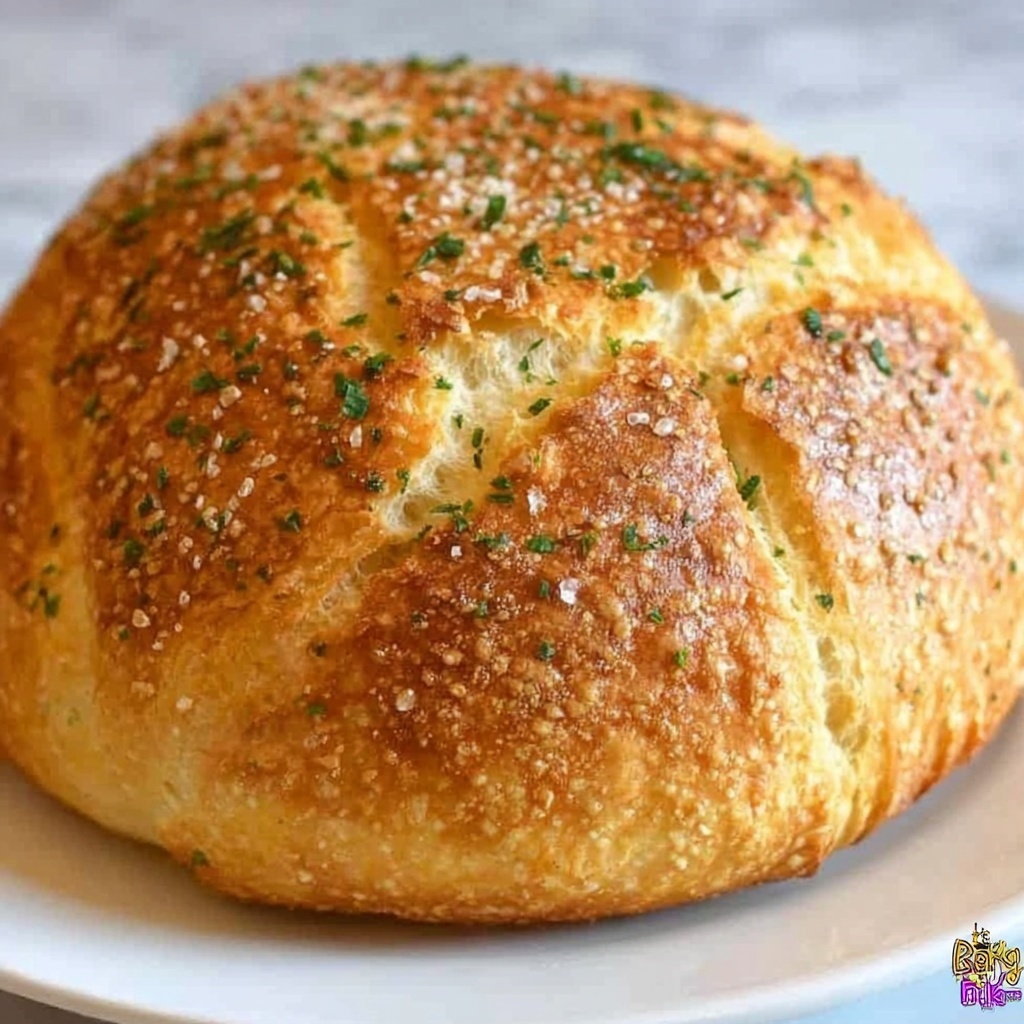
If you have ever dreamed of bringing the unmistakable aroma and irresistible crunch of freshly baked bread from an Italian bakery right into your kitchen, this Crusty Italian Bread Recipe is your ticket there. It’s a truly satisfying experience to create that perfect golden crust with a tender, chewy interior using simple pantry staples, and the process is as enjoyable as the bread is delicious. Whether for a quick snack or a star at your dinner table, this recipe delivers a rustic, homemade charm that will have you reaching for seconds.
Ingredients You’ll Need
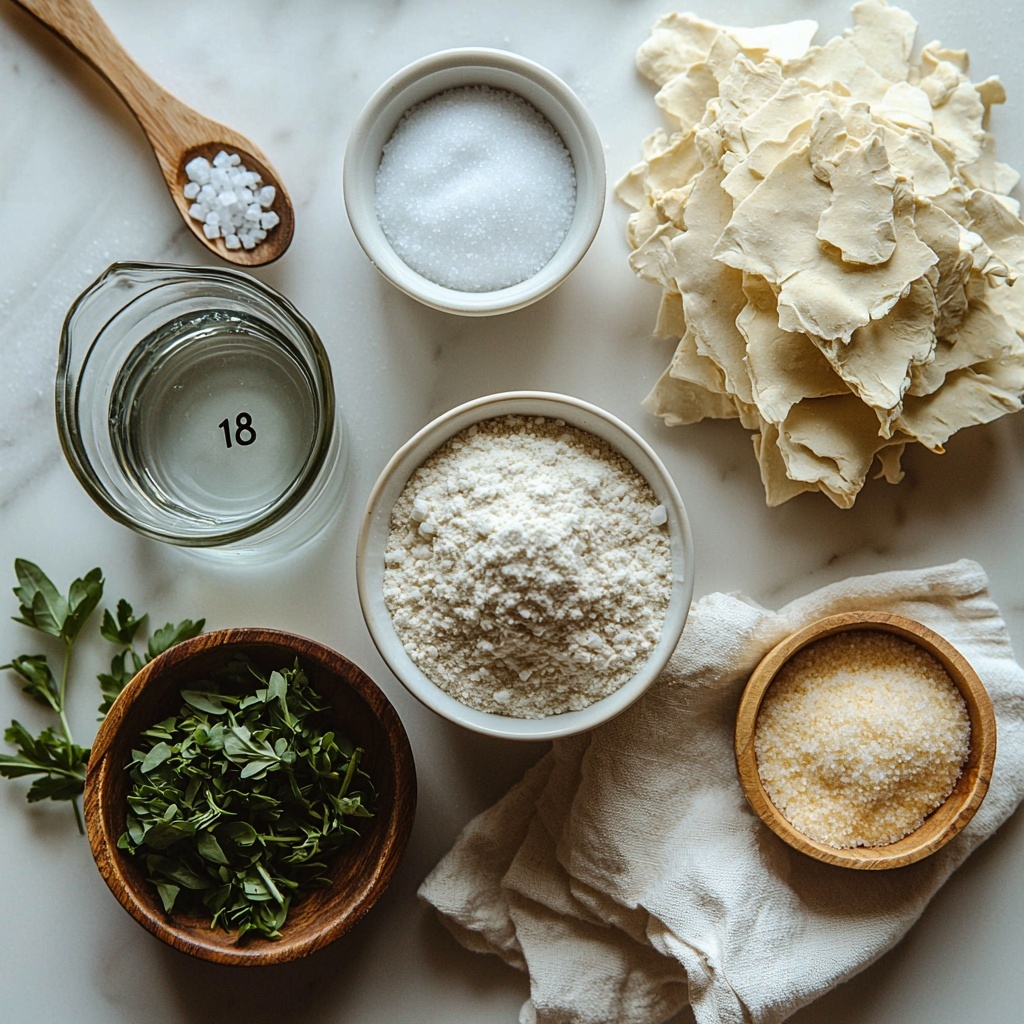
It’s incredible how just a handful of ingredients can come together to create such a remarkable loaf. Each item plays an essential role—from the yeast that gives the bread life and lift, to the salt that enhances every subtle flavor.
- 1 1/2 cups warm water (100°F-110°F): The warm water activates the yeast and hydrates the dough for a soft crumb.
- 2 1/4 teaspoons instant yeast: Provides the rise and beautiful texture in the bread without the wait of traditional yeast.
- 1/2 teaspoon sugar: Feeds the yeast, helping it bloom and work its magic.
- 3 3/4 cups all-purpose flour: This serves as the backbone, delivering structure and a rustic feel.
- 1 1/2 teaspoons salt: Boosts flavor and controls yeast activity to keep the dough balanced.
- 1 tablespoon chopped fresh herbs (optional): Adds a vibrant note and beautiful aroma, tailoring the bread to your taste.
- 1 tablespoon cornmeal or flour (for dusting): Prevents sticking and adds a charming finishing touch to the crust.
How to Make Crusty Italian Bread Recipe
Step 1: Mixing Your Dough
Begin by combining the flour, salt, and sugar in a large bowl, then sprinkle the yeast evenly over this dry blend. Pour in the warm water, and stir until a sticky, shaggy dough forms. This first step is where your bread starts coming to life!
Step 2: First Rise
Cover the dough with a clean towel and place it in a warm, cozy spot. Let it rest for about 2 hours, or until it doubles in size. This rise is crucial for a light and airy crumb.
Step 3: Shaping the Loaf
Gently turn the risen dough onto a floured surface and shape it into a smooth ball. This careful handling preserves the bubbles created by the yeast, which later translates into that delightful texture.
Step 4: Second Rise
Place your dough seam-side down into a proofing basket or onto parchment, dusted with cornmeal or flour. Cover and allow the dough another 30 to 45 minutes to puff up as you preheat your oven to a toasty 450°F. This second rise enhances the flavor and crust.
Step 5: Scoring and Baking
Use a sharp knife to score the top of the loaf, giving it room to expand and creating those signature crusty lines. Transfer the dough into a preheated Dutch oven, cover, and bake for 30 minutes. Then, remove the lid to let the crust fully develop during the last 10 to 15 minutes until golden and crisp.
Step 6: Cooling
Allow your loaf to cool on a wire rack for at least an hour. This wait is worth it as it lets the crumb set properly, making slicing a breeze and preventing the bread from becoming gummy inside.
How to Serve Crusty Italian Bread Recipe
Garnishes
A sprinkle of flaky sea salt or a drizzle of high-quality olive oil right after slicing adds an instant flavor boost. Fresh herbs like rosemary or thyme can be used to garnish for both aroma and elegance.
Side Dishes
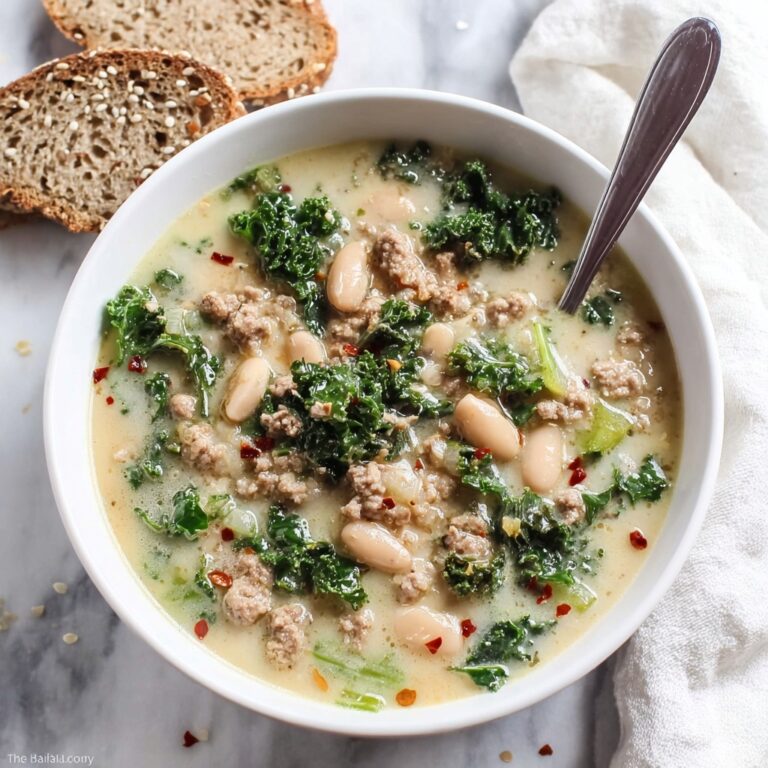
This bread is a flawless companion to soups, stews, or even a vibrant salad. Dip it in olive oil and balsamic vinegar for a classic Italian appetizer, or use it to mop up rich sauces.
Creative Ways to Present
Slice into thick slabs and toast for bruschetta topped with fresh tomatoes and basil, or transform it into crostini for a sophisticated party snack. You can even hollow out the loaf for a rustic bread bowl filled with your favorite dipping sauce or chowder.
Make Ahead and Storage
Storing Leftovers
Wrap your leftover bread in a clean kitchen towel to maintain the crust’s crunch and store it at room temperature in a bread box or paper bag for up to two days.
Freezing
If you want to enjoy your Crusty Italian Bread Recipe later, slice it and freeze the pieces in an airtight container or freezer bag. This keeps the bread fresh for up to a month and ready whenever you crave it.
Reheating
Reheat your bread slices in a toaster or a hot oven for a few minutes to recreate that freshly baked crispness and warmth, just as if it came out of the oven moments ago.
FAQs
Can I use active dry yeast instead of instant yeast?
Absolutely! Just make sure to activate it in the warm water with the sugar first, allowing it to foam before mixing it with the dry ingredients.
What if I don’t have a Dutch oven?
You can bake the bread on a preheated baking stone or an inverted baking sheet and place a pan of water in the oven to create steam for a crispy crust.
How important is the second rise?
The second rise allows the dough to relax and develop flavor further, contributing to a better crumb and crust texture, so it’s definitely worth the extra time.
Can I add whole wheat flour?
Yes! Replacing up to half of the all-purpose flour with whole wheat will add a nuttier flavor and extra fiber, though the loaf may be a bit denser.
Why is scoring the bread necessary?
Scoring allows the bread to expand during baking without cracking unpredictably, helping to create that lovely artisan look and ensuring an even bake.
Final Thoughts
This Crusty Italian Bread Recipe is one of those truly special dishes that turns everyday ingredients into something magical. The delicious crunch, warm soft interior, and the inviting aroma will fill your home and heart. Believe me, once you try this, you might never want to buy bread from a store again. So go ahead, roll up your sleeves, and treat yourself to the joy of homemade Italian bread!
Print
Crusty Italian Bread Recipe
- Prep Time: 5 minutes
- Cook Time: 40-45 minutes
- Total Time: 3 hours 10 minutes
- Yield: 1 loaf (about 1 pound)
- Category: Bread
- Method: Baking
- Cuisine: Italian
Description
This Crusty Italian Bread recipe delivers a golden, crunchy crust and a soft, airy interior, perfect for sandwiches or accompanying any meal. With simple ingredients and basic techniques, it’s an ideal homemade bread for both beginners and seasoned bakers, featuring an optional hint of fresh herbs for added flavor.
Ingredients
Main Ingredients
- 1 1/2 cups warm water (100°F-110°F)
- 2 1/4 teaspoons instant yeast
- 1/2 teaspoon sugar
- 3 3/4 cups all-purpose flour
- 1 1/2 teaspoons salt
- 1 tablespoon chopped fresh herbs (optional)
- 1 tablespoon cornmeal or flour (for dusting)
Instructions
- Mix Dry Ingredients: In a large mixing bowl, combine the all-purpose flour, salt, and sugar. Sprinkle the instant yeast evenly over the mixture.
- Add Water and Form Dough: Pour the warm water into the dry ingredients and stir until a sticky dough forms, ensuring all the flour is incorporated.
- First Rise: Cover the bowl with a clean towel and let the dough rise in a warm spot for about 2 hours, or until it has doubled in size, allowing the yeast to work its magic.
- Shape Dough: Lightly flour your work surface and gently turn the risen dough out onto it. Shape the dough into a round ball, handling it carefully to maintain the air bubbles inside.
- Second Rise: Place the shaped dough seam-side down in a proofing basket or onto a piece of parchment paper dusted with cornmeal or flour. Cover it again and let it rise for another 30 to 45 minutes while you preheat your oven to 450°F (230°C).
- Score and Prepare for Baking: Using a sharp knife, score the top of the dough to allow for expansion and to create that characteristic artisanal look.
- Bake: Transfer the dough—with the parchment, if used—into a preheated Dutch oven. Cover and bake for 30 minutes, then remove the lid and bake for an additional 10 to 15 minutes until the crust is a deep golden brown and crisp.
- Cool: Remove the bread from the Dutch oven and place it on a wire rack. Allow it to cool completely for at least one hour before slicing to ensure the crumb sets properly.
Notes
- Use a thermometer to check water temperature; it should be warm but not hot to avoid killing the yeast.
- Adding fresh herbs is optional but adds a wonderful aromatic flavor.
- A Dutch oven helps create steam for a crisp crust but if unavailable, bake on a baking stone or inverted baking sheet with a pan of water for steam.
- Letting the bread cool completely is crucial for the best texture when slicing.
- You can store leftovers wrapped loosely in a paper bag for up to 2 days, or freeze slices for longer storage.


