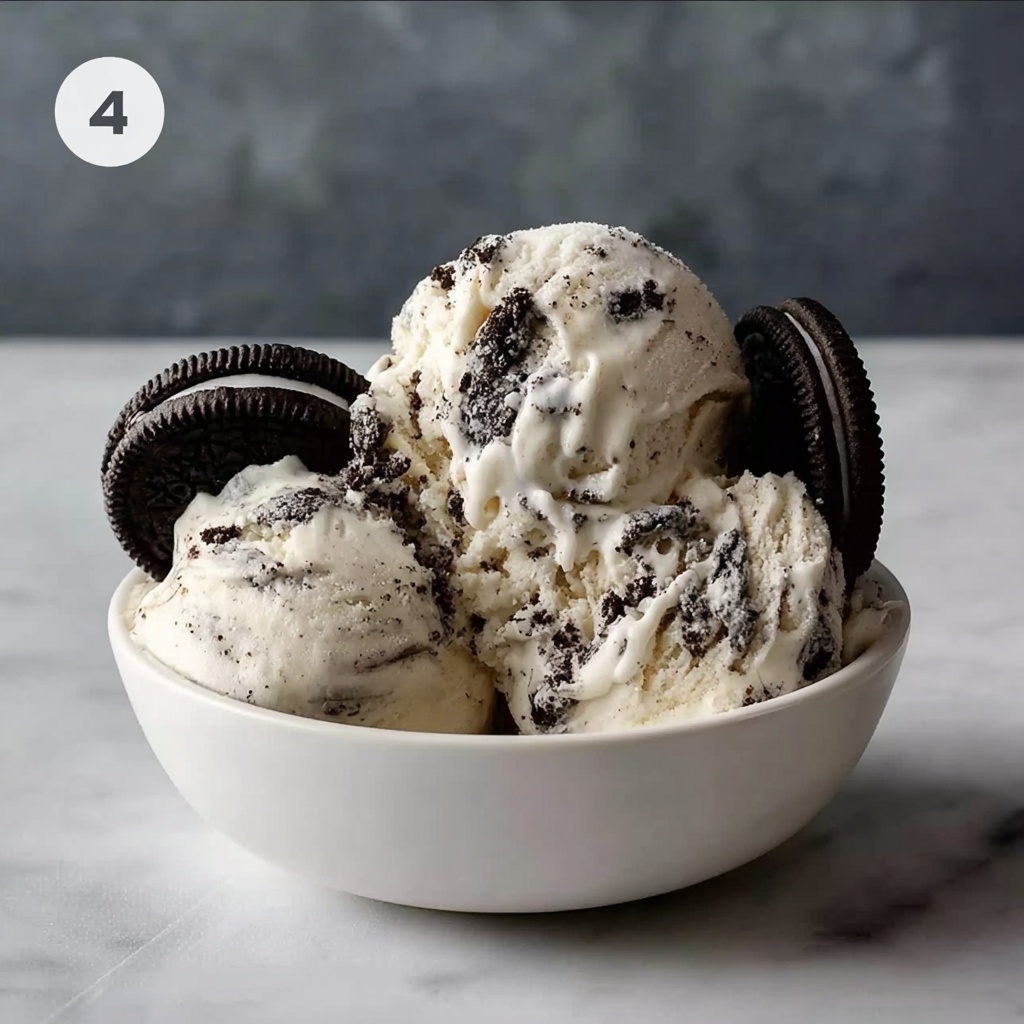
If you have a sweet tooth and love cookies, you’re absolutely going to adore this Cookies and Cream No-Churn Ice Cream Recipe. It’s the perfect blend of creamy, dreamy ice cream and those irresistible crunchy chocolate sandwich cookies packed into every bite. The best part? You don’t need any fancy ice cream machine to whip this up. Just a few simple ingredients and a bit of patience in the freezer, and you’ll have a homemade treat that beats any store-bought version hands down. Whether you’re making it for a family gathering or a cozy night in, this recipe is an absolute winner.
Ingredients You’ll Need
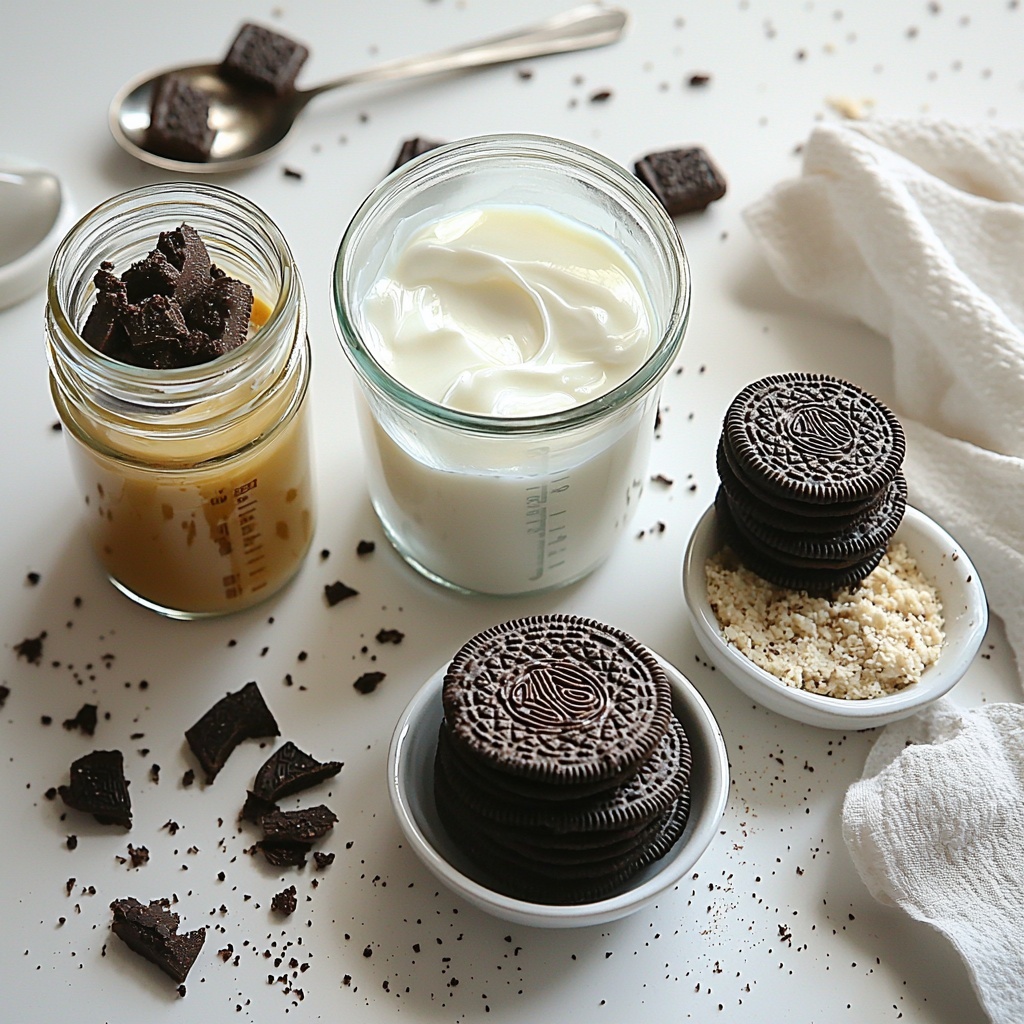
Trust me, the magic of this Cookies and Cream No-Churn Ice Cream Recipe comes from how simple and straightforward the ingredients are. Each one plays a key role in creating that perfect balance of creamy texture, rich sweetness, and delightful cookie crunch.
- 2 cups heavy cream (cold): The foundation for that luscious, whipped cream texture that feels like a soft cloud.
- 1 (14-ounce) can sweetened condensed milk: Adds the perfect level of sweetness and creaminess without needing to churn.
- 2 teaspoons vanilla extract: Brings in a warm, comforting vanilla note that ties everything together.
- 20 chocolate sandwich cookies: Crushed into chunky and fine pieces to give that classic cookies and cream crunch and flavor throughout.
How to Make Cookies and Cream No-Churn Ice Cream Recipe
Step 1: Whip the Cream
Start by pouring your cold heavy cream into a large mixing bowl. Using a hand mixer or stand mixer, whip it on medium-high speed until stiff peaks form. This step is super important because it gives your ice cream that luscious, fluffy texture you want, almost like a soft whipped cloud. Trust me, if your cream isn’t whipped enough, the ice cream won’t have that light, creamy feeling that makes this recipe so irresistible.
Step 2: Fold in the Sweetened Condensed Milk
In a separate bowl, mix together the sweetened condensed milk with the vanilla extract. This is what gives your ice cream that classic rich sweetness. Pour the whipped cream into this mixture in batches, folding gently each time. The key here is to be gentle so you don’t deflate all the air you just whipped into the cream. You want the mixture to stay light and airy for that perfect melt-in-your-mouth texture.
Step 3: Add the Cookie Crumbles
Time for the best part! Sprinkle in your crushed cookies—a mix of chunky bits and fine crumbs works wonderfully to give a satisfying bite and flavor throughout the ice cream. Fold them into the mixture carefully to distribute evenly. Save a few pieces to sprinkle on top before freezing, just to make it look as tempting as it tastes.
Step 4: Freeze
Transfer the entire mixture into a loaf pan or any airtight container you have. Smooth the top with a spatula and sprinkle those reserved cookie crumbs on top for a pretty finish. Cover tightly with foil or a lid, then pop it into the freezer. Let it freeze for at least 6 hours or ideally overnight to allow it to firm up perfectly.
Step 5: Serve and Enjoy
When you’re ready to dig in, remove the ice cream from the freezer and let it sit at room temperature for a few minutes just to soften a bit—this makes scooping so much easier! Scoop generous servings and watch happy faces light up. It’s such an effortless way to enjoy homemade, gourmet-level dessert at home.
How to Serve Cookies and Cream No-Churn Ice Cream Recipe
Garnishes
Adding garnishes can elevate your Cookies and Cream No-Churn Ice Cream Recipe from delicious to downright decadent. Try topping each scoop with a drizzle of chocolate syrup, a sprinkle of crushed cookies, or even a dollop of whipped cream. A few mini chocolate chips or a dusting of cocoa powder can add a special touch that makes every bite feel like a treat.
Side Dishes
This ice cream works beautifully alongside warm desserts. Think warm brownies, freshly baked chocolate chip cookies, or even a slice of rich chocolate cake. The contrast between hot and cold, soft and crunchy makes every bite exciting and satisfying. It’s also lovely paired with fresh berries for a lighter sweet bite.
Creative Ways to Present
If you’re serving this at a party or just want to impress someone special, try presenting your Cookies and Cream No-Churn Ice Cream Recipe in individual dessert glasses or waffle cones with extra cookie crumbs on top. You can also layer it in a parfait glass alternating with layers of crumbled cookies and chocolate sauce for a visually stunning and mouthwatering treat.
Make Ahead and Storage
Storing Leftovers
Leftover Cookies and Cream No-Churn Ice Cream Recipe is a dream to keep. Make sure to store it in an airtight container to avoid freezer burn and maintain that creamy texture. Proper storage will keep it tasting fresh for up to two weeks, though it rarely lasts that long!
Freezing
Freezing this ice cream is super straightforward since no special equipment is needed. Just keep it covered tightly and make sure it’s well sealed from any strong freezer odors. For the creamiest texture, avoid freezing it for more than a month. When you’re ready to enjoy, simply thaw a few minutes before scooping.
Reheating
Unlike cooked desserts, this Cookies and Cream No-Churn Ice Cream Recipe is best enjoyed cold, so reheating isn’t recommended. Instead, just let it sit out at room temperature for a few minutes to soften if it’s too hard straight from the freezer. This small step makes scooping easy and keeps that creamy texture intact.
FAQs
Can I use different cookies?
Absolutely! While chocolate sandwich cookies are classic, you can experiment with other varieties like chocolate chip cookies, peanut butter cookies, or even gluten-free options. Just crush them to your preferred texture and fold them in like usual.
Will this recipe work without heavy cream?
Heavy cream is essential for achieving the airy, creamy texture in this no-churn ice cream. Using substitutes like milk or half-and-half won’t give the same fluffy results, so stick to heavy cream for the best outcome.
How long should I let the ice cream sit before scooping?
About 5 to 10 minutes at room temperature is perfect. This short wait softens the ice cream just enough for easy scooping while keeping its rich texture intact.
Can I make this recipe vegan or dairy-free?
It’s a bit tricky because heavy cream and sweetened condensed milk are key to the creaminess here. However, there are some plant-based heavy cream alternatives and sweetened condensed coconut milk you could try, but results might vary.
What’s the best way to crush the cookies?
You can use a food processor for quick and even crumbs or place the cookies in a plastic bag and crush them with a rolling pin for a chunkier, more rustic texture. Mixing both gives your ice cream a wonderful bite variety.
Final Thoughts
Honestly, I can’t recommend this Cookies and Cream No-Churn Ice Cream Recipe enough. It’s easy, fun, and incredibly satisfying. Every step is straightforward, but the end result feels like you went all out. So gather your ingredients, set aside a little freezer time, and prepare to indulge in something truly special. You’ll see why this recipe quickly becomes a favorite for sharing and celebrating sweet moments.
Print
Cookies and Cream No-Churn Ice Cream Recipe
- Prep Time: 10 minutes
- Cook Time: 0 minutes
- Total Time: 6 hours 10 minutes
- Yield: 6 to 8 servings
- Category: Dessert
- Method: No-Cook
- Cuisine: American
- Diet: Vegetarian
Description
This easy no-churn Cookies and Cream Ice Cream recipe delivers a creamy, dreamy treat without the need for an ice cream machine. Whipped heavy cream folded with sweetened condensed milk and vanilla, combined with crunchy chocolate sandwich cookies, creates a rich, airy dessert perfect for any occasion. Simply mix, freeze, and enjoy indulgent homemade ice cream in just minutes of prep time.
Ingredients
Ice Cream Base
- 2 cups heavy cream (cold)
- 1 (14-ounce) can sweetened condensed milk
- 2 teaspoons vanilla extract
Add-ins
- 20 chocolate sandwich cookies (like Oreos), crushed (mix of chunky and fine pieces)
Instructions
- Whip the cream: Pour the cold heavy cream into a large mixing bowl. Using a hand mixer or stand mixer on medium-high speed, whip until stiff peaks form. This creates a fluffy, soft texture essential for the ice cream’s lightness.
- Fold in the sweetened condensed milk and vanilla: In a separate bowl, stir together the sweetened condensed milk and vanilla extract. Slowly fold the whipped cream into this mixture in batches, gently to maintain the airiness of the whipped cream.
- Add the cookie crumbles: Fold the crushed chocolate sandwich cookies into the ice cream base until evenly distributed. Reserve some cookie pieces to sprinkle on top for garnish if desired.
- Freeze the mixture: Transfer the combined mixture into a loaf pan or airtight container. Sprinkle remaining cookie bits on top, then cover with foil or a lid. Freeze for at least 6 hours or overnight until the ice cream is firm.
- Serve: Before serving, let the ice cream soften at room temperature for a few minutes to ease scooping. Scoop into bowls or cones and enjoy the creamy, crunchy Cookies and Cream delight.
Notes
- Use cold heavy cream straight from the fridge for best whipping results.
- Folding gently prevents the mixture from losing volume, keeping it light and fluffy.
- For extra texture, leave some cookie pieces chunky rather than crushing all finely.
- Freeze covered to avoid ice crystals forming on the ice cream surface.
- Letting ice cream soften slightly before scooping improves texture and ease of serving.


